Configuration: Adding Cameras
About
Click on the Server icon at the top left of the Agent DVR UI and select "Add Device" under Devices. Alternatively, in the Live View, click on the Edit icon at the bottom right and choose "Add New Device".
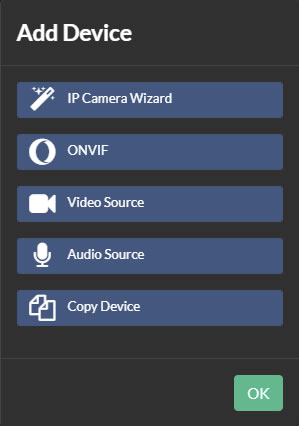
Choose from the available options. To use the wizard, which helps you discover devices on the local network and connects to your camera using the Agent DVR camera database, click on "IP Camera Wizard". For ONVIF compatible cameras, select "ONVIF". If you already have an RTSP, MJPEG, or another URL for your camera, choose "Video Source". For adding an audio source like a local USB microphone or other network audio sources, click on "Audio Source".
Configuration
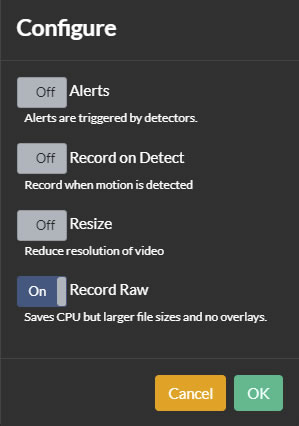
The second step in adding a new device involves setting up some basic features. If you enable "Alerts," Agent DVR will configure your camera with a simple motion detector to raise alert events. To record upon motion detection, select the "Record on Detect" option. For high-resolution cameras, the "Resize" option can reduce the resolution, saving CPU usage. "Record Raw" means Agent DVR will record the stream directly from the camera to disk without encoding, significantly reducing resource usage. Note that Raw Record is only available for network video sources (not USB cameras or local devices like desktop streams). You can edit all these options later.
Using the Wizard
Start by typing the name of your camera manufacturer in Agent DVR. The system will suggest options. Click on a suggestion to select it. If your manufacturer isn't listed, choose "Unlisted," or select "<Manufacturer>: Unlisted" for unknown models. This information helps Agent DVR narrow down potential video connection addresses.
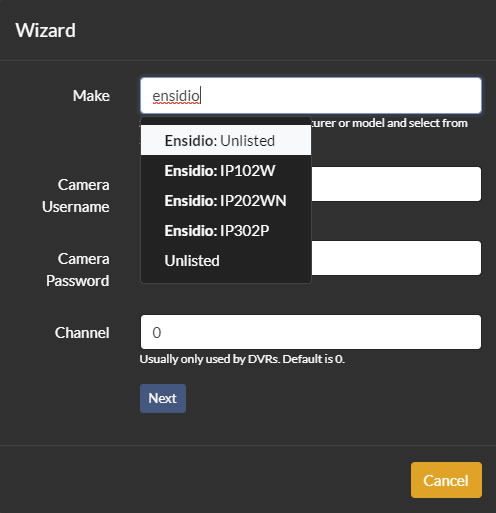
Enter your camera's username and password (these are the credentials used to access your camera's web or app interface, not your iSpyConnect.com login).
Enter the Channel number (usually '0' for IP cameras, but may differ for DVR systems with multiple cameras).
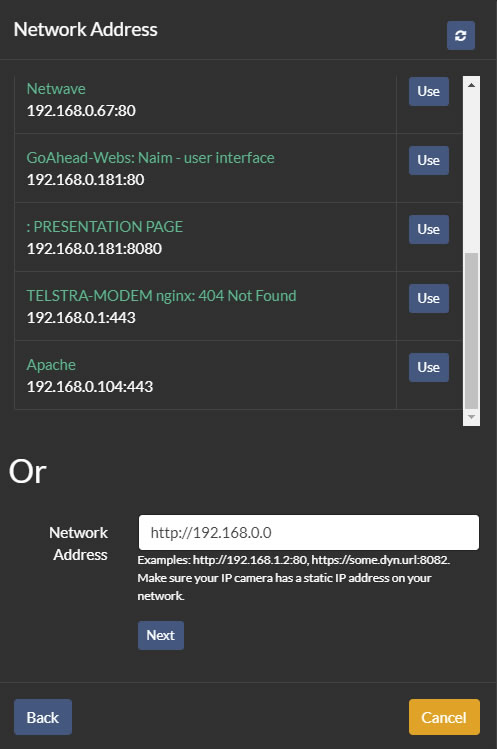
Next, identify or enter your camera's Network Address. Agent DVR can automatically discover local devices. After the network scan, click on a device name to try accessing it in a web browser, and if it's your IP camera, click "Use" next to it. You can also manually enter the network address in the format of http://IP-ADDRESS:PORT or https://WEB-ADDRESS:PORT. Use the icon to rescan your network.
Tip: Set your IP cameras with static IP addresses on your network to maintain consistent connectivity. Here's a helpful guide: Setting Static IP Addresses.
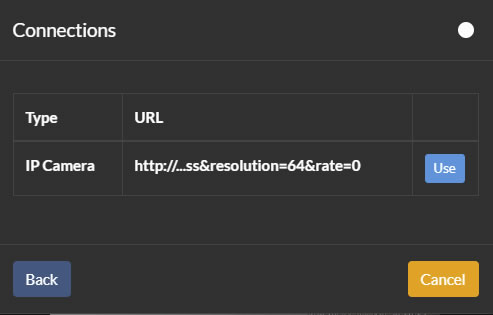
After selecting an address, Agent DVR will scan for video endpoints. Choose one from the list by clicking "Use."
Tip: Prefer IP Camera options over MJPEG or JPEG for better audio and frame rates.
If no endpoints are found, verify your details or contact the manufacturer for direct camera stream access. Alternatively, add the device using "Video Source" for manual configuration or as an ONVIF device.